How to Marketing Guide for Your products and business

Exclusive previews
Waiting lists
Build hype and awareness by having individuals sign up for an upcoming offer or event ahead of time with a dedicated landing page. This will help you build a list that you can email and overall nurture towards purchasing the product.
Set Deadlines
Set deadlines for registering for an event or redeeming a promotion. This creates a sense of urgency and gives your audience an extra push to act now instead of waiting until it’s too late.
Limit Quantities
Limit your promotions or offers to a set number of people or redemptions. This, similar to setting a deadline, creates a sense of urgency and scarcity around the offer and encourages your audience to take action now and be one of the lucky few to benefit from the promotion.
Introductory offers
An intro offer is a one-time purchase or special offer designed to attract first-time visitors to your business. For prospective clients, they offer a chance to check out your business with an exclusive offer at a reduced price.
Google My Business promotions
A Google My Business profile lends credibility to your company. Need proof? Customers are 70% more likely to visit businesses with a Google My Business listing.
Another study found that businesses with complete listings on Google are twice as likely to earn trust from customers.
Trust is a key factor when it comes to making purchase decisions. The more confident a consumer feels, the more likely they are to buy. Credibility gained from Google is enough to sway people to be 38% more likely to visit your store, and 29% more likely to buy something.
Google My Business reviews help build trust, too. Research by Think With Google finds that 88% of consumers trust online reviews as much as personal recommendations.
Contests and giveaways

Well-designed contests immediately answer the basic question: “What’s in it for me?” Through awards of cash, merchandise, free service, and even recognition, you can encourage your readers to help you generate original content–content that will help you build your business and deliver value to your visitors.
For example, if your contest requires people to submit content, numerous entrants will likely promote the content on their own private social media channels, especially if the contest involves the need for votes. When entrants share their content on Facebook, Twitter, and Pinterest, it’s a tacit personal endorsement of your brand.
In addition to social channels, user-generated content is awesome. Quora, Google, etc. returns are full of it. And given recent updates, fresh content is becoming ever more important to Google. Fortunately, when users create content, they end up using keywords that other users are searching for, ultimately helping you to rank for long-tail terms that often elude marketers.
Email marketing

Service provider
If you’re serious about email marketing, you need to work with an email marketing service provider. Working with a provider is the only way your business can leverage email marketing automation to effectively deliver messages to large groups of contacts or subscribers.
You’ll also benefit from professional email templates, tools to help you grow and manage your email list, and tracking features that show you who is opening and engaging with your campaigns and messages.
Gather contact list
Most businesses will have some existing contacts to start an email list. Think of the customers and people you already have a relationship with. Maybe it’s the business contacts you email with on a regular basis; maybe you just start with a few supportive friends and family members.
Add your contacts to your account
Once you have an email marketing account and an initial list to send to, add your contacts to your account.
You can start by uploading a contact list from an existing spreadsheet or importing contacts right from a Gmail or Outlook account.
If possible, organize your contacts into separate lists based on what you know about them.
Set up your welcome email
Your welcome email is the first message your new email subscribers receive from you.
Welcome emails are especially important because they serve as your first impression and reach people at a time when they’re highly engaged with your business. You can expect a higher than average open rate for your welcome email, so make sure you’re delivering value right away.
Start with a warm greeting, provide an overview of what they can expect to receive from you in the future, and offer them something useful right away.
Once set up, your welcome email will send to all new contacts automatically.
Create a reusable email template
Look for a layout that is clean, eye-catching, and will get your message across fast. People scroll through the inbox quickly, often while on the go, so choose a mobile-responsive email template that looks good on any device.
Next, customize your template with your brand by putting your business’s logo right at the top of your email and linking the image back to your website’s homepage. Add in your business’s signature colors and create an email footer with your business name, contact information, and links to your active social media channels.
Once you have these essential design elements all set up, make a copy of your email and save a version as your master template. With this reusable template, you don’t have to start from scratch and add in your branding every time.
Practice writing persuasive messages
This tends to be one of the scariest steps for business owners. Writer’s block happens to the best of us.
Just pretend you’re having a conversation with someone and writing down exactly what you’d like to say.
It also helps to follow a repeatable process and break your message down into three important sections:
- What are you offering?
- How will it help the reader?
- What should they do next?
This helps you stay focused, so you can write effective messages fast.
Spend time on subject lines
Your email subject line is one of the most important lines of text in your whole email.
Why? Your subscribers see your subject line even before they open your message. Make a good impression and people won’t be able to resist opening. Write something bland, and they might skip over your message without a second thought.
Your subject line should be short, around 40 characters.
You can draw attention by asking a compelling question, including a deadline for urgency, or just teasing your message.
Preview and test before you send
Especially when you’re first getting started with email marketing, it’s easy to slip up every once in a while.
Maybe you forget to add in an important link or make an embarrassing spelling mistake right in the subject line. Unfortunately, there’s no back button with email, so always remember to send yourself or a staff member a Test Email before sending it out to your entire list.
Send your email with timing in mind
Ready to send out an email? Timing is a huge, important factor to consider.
Every audience is different, and the best time to send will differ based on who’s on your email list.
Create a consistent sending schedule and stick to it. For example, if you send out a newsletter on the first of every month, your audience will come to expect it in their inboxes.
If you do decide to follow a set schedule, tell people at the point of sign-up by saying something like:
“Would you like to sign up for our Hints & Tips newsletter? Your subscribers will know when they’ll hear from you next, and you can schedule your message to send based on your established schedule.
Track your results
Email marketing doesn’t end there. You will want to track your open rate, click-through rate, unsubscribe rates, etc., and work to improve over time.
If you want to see real results from your email marketing, you need a strong understanding of how each email performs, so you can make improvements and learn more about your customers.
Spending a few minutes in your email reports will tell you valuable information like who opened your email, who clicked on specific links, and what information was the most interesting to your readers.
While it’s important to know how engaging your campaign messages are, make sure you’re tracking actions that happen beyond your emails. How many clicks to your page are translating into real donations? What is the total amount of funds raised from a single email?
These are the types of questions that will show you the real impact of your marketing efforts.
Blog posts
Plan your content out
What are you going to share on your blog? News, tips, resources, etc.? How often will you update your blog? (Daily, weekly, etc.)
Create Your Blog
Decide on your blogging platform, and set it up, including customization that fits your business. Be sure to use the same logo on your blog as on your website (if you have a separate website) to retain consistency.
Fill Your Blog with Several Posts as soon as possible! Readers don’t like to visit a blog with only one or two posts. Add ten or more posts quickly to start out, and then switch to your regular post schedule.
Market Your Blog
It’s very easy to integrate social media into your blogs so that your blog posts go out to your followers. Include your blog on your marketing materials as well.
Reply to Comments
Remember, blogs are social, so people will ask questions, provide feedback, or share their opinion. Delete spam posts.
Use Your Blog to Encourage Email Signups.
Events virtual and in-person
Online events
Connecting presenters and participants through a web-based interface. Common types of online events include webinars, virtual events, and live-streaming events. Online events are often less costly than in-person events and can enable you to easily reach a geographically dispersed audience.
Webinars
Revolving around presentations, discussions, or workshops that are delivered via the web. They can happen in real-time or on-demand, and typically last from 30 to 60 minutes. Real-time webinars enable interaction among participants, providing the opportunity to receive and discuss information on a topic that is presented through web-based conferencing tools. Real-time webinars can be interactive on many levels and typically allow attendees to ask questions directly to the presenters.
Virtual events
Enable individuals in different locations to participate in a virtual environment that has the look and feel of an offline event by combining education, networking, and interactive features. Participants visit a virtual booth where they can collect materials, meet the staff, ask questions, and even pick up some virtual swag. These programs tend to happen in real-time for all participants.
Livestreaming events
These are live events that you can stream to your viewers. You can conduct these with a simple webcam or employ a full production crew for higher-quality broadcasting. Applications such as Livestream and U stream, as well as Google Hangouts, offer a live service that allows you to fully stream, record, and engage your audience with chat and social media functionality.
Physical events
Offline events require physical attendance, and interactions take place in person. While they often require more investment than virtual events, offline events allow face-to-face relationship building. Don’t underestimate the impact a handshake or a personal meeting can make on a prospect or customer.
Trade shows
A trade show is a physical gathering of individuals in a particular industry or profession in a forum that typically features numerous companies in a specific market. A business may sponsor or participate in a trade show to show off a product, or simply to network and strengthen its presence in a market.
Conferences
These are often company-specific events that gather attendees for the purpose of delivering information, such as a user summit. These events tend to be on the larger side and are held by companies for training or educational purposes.
Seminars
The term seminar is usually used to describe smaller meetings, roadshows, or field events. Some seminars are set up similar to a classroom lecture, where an expert shares information with the audience in a traditional format. Others are styled as roadshows, where marketers take their company’s message out to the public or to employees or partners.
Breakfasts, lunches, and dinners.

These are typically small, targeted events. They can be both customer and prospect-focused. These events are usually very intimate, with eight to ten people, or can be larger, with 50 or more attendees. The smaller functions tend to be high level and provide executives a private setting for networking. On a larger scale, breakfasts, lunches, and dinners can include thought leadership presentations as part of the event.
Customer reviews
Identify the right moments to ask according to their buyer’s journey.
Choose a method that works at scale
Ask the customer in person
Leverage moments of customer happiness
Begin with an open-ended question
Reduce the friction when it is possible
Let them know how long it will take
Social media posts
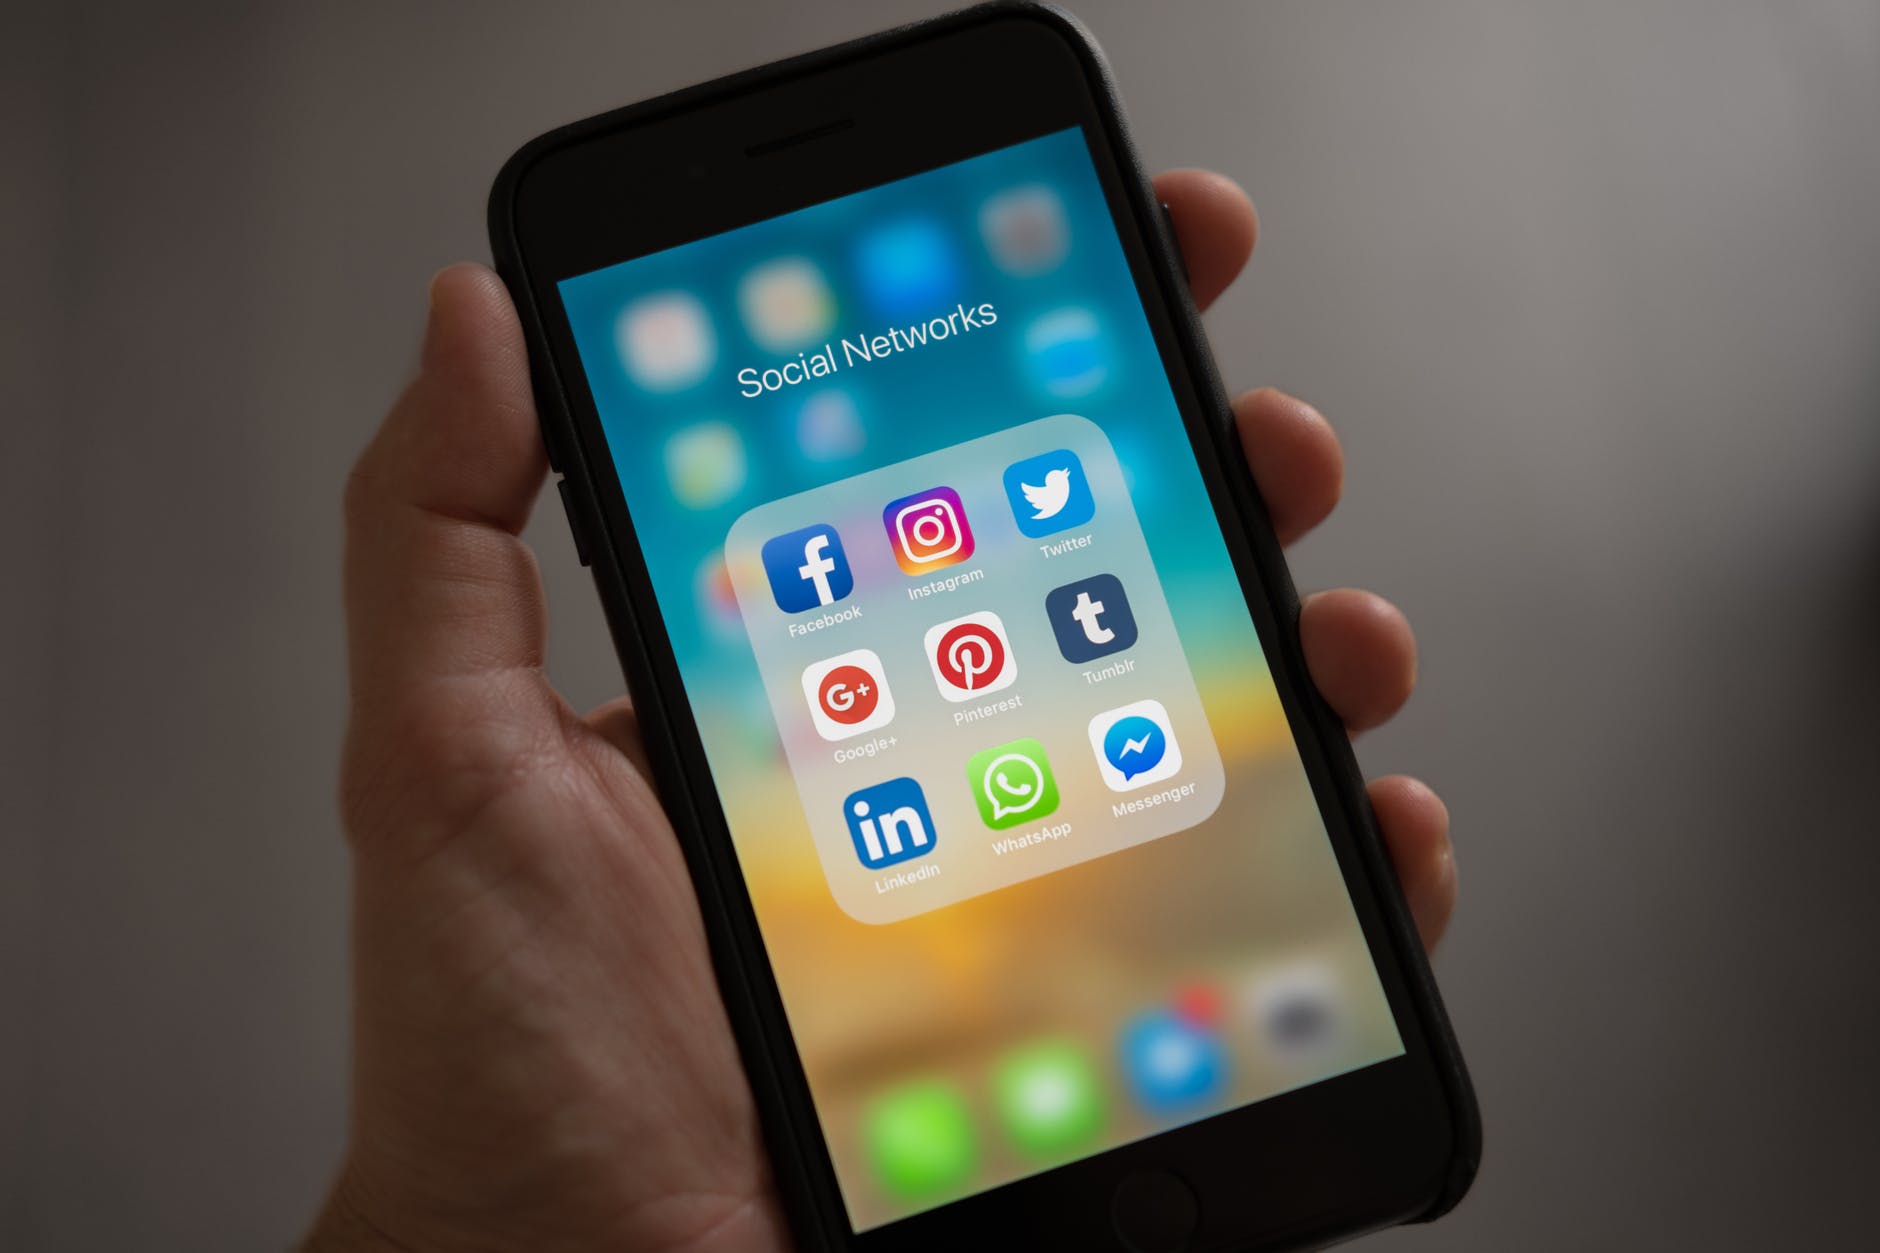
Tailor your social media posts for each network
Each social network offers different options for presenting your content. Social platforms not only differ in the number of characters, image formats, and sizes they provide for your posts. Also, communities engage differently with content and post formats. The better you know your audience and know the way they are engaging on each social platform, the better you can address them. Tailor the message for your posts to fit each social media platform and audience:
- Adapt your comment to the number of characters allowed on each platform. Take a look at the number of characters displayed in the preview to make your meaning come through.
- Make sure your images correspond to the images sizes the networks provide. Consider adapting your images to create specific images for Pinterest and Instagram to make sure your message will be presented in the best way to fit these platforms.
- Share your posts to your social media profiles and pages with different comments for your message that will hit the language use of the respective community and focuses on their topics and interests.
- Share your posts on different days and at different times of the day. Networks and communities have specific rush hours for traffic and engagement.
- You can also share your post in relevant groups and communities on Facebook and LinkedIn, but share them on different days and times and use different messages tailored to each group and audience. Make sure to follow the community rules of each group and only share content that will benefit the audience of the respective group.
Content is still king
Don’t post everything everywhere. Only share quality content that will benefit the audience of the respective social platform. Capitalize on content that converts best for each of your communities:
- Share content that hits the interests of your target audience.
- Create and share tips to make your customers’ lives easier.
- Share content that will make your readers remember you as a useful resource for valuable information on your topic.
- Provide tips, strategies, how-to articles or entertaining content for your specific audience and topic.
- The content marketing tool Buzzsumo helps you to identify top-performing content on social media.
Create multiple visuals for your content
Visual content is more likely to get shares, likes, and comments than pure text messages. Content with relevant images gets 94 % more views than content without relevant images. Visuals will increase click-through-rates (CTR) about 47 %. Infographics grow 12 % more traffic, and 200% more shares than posts without images.
Why visuals are important for social media posts
Create multiple visuals for your content, such as photos, images, infographics, GIFs, and videos. Capitalize on all your visuals to share, reshare and repurpose your content. For instance, if you share content that contains more than one image, share all your images, one at a time, to repurpose your content. This will extend the lifetime of your content and allows you to reshare your content without repeating yourself.
Tools to help to create visuals for your social media posts:
- Canva helps you to create visuals and infographics super fast and easily. Canva offers a huge variety of templates, layouts, photos, and icons you can use to create professional-looking images.
- Pixabay, Pexels, or Unsplash offer a huge collection of stock photos you can even upload to your Canva designs.
- Movely and iSpring Free Cam enable you to create animated videos and professional-looking screencasts.
- With the Internet Marketing Ninjas tool you can resize your images for each social network quite easily.
Use hashtags in your social media posts
Hashtags have become essential parameters for linking your posts with current discussions (trending hashtags) or turning your social media posts into searchable content. However, hashtags don’t work equally well on all social networks. They work well for Twitter and Instagram, but they perform less on LinkedIn and Facebook. Also, the character and number of hashtags work differently per network. For instance, tweets using more than two hashtags see a significant drop in engagement. Whereas on Instagram, the more hashtags you use, the more engagement you see.
- Use hashtags only on posts relevant to the topic. Using mismatched hashtags, just for getting attention, won’t do you any favors since people easily get annoyed if they don’t find what they are looking for.
- Only use relevant keywords and phrases for typical search words on your topics.
- Don’t #spam #with #hashtags. Over-tagging a single post or adding them to every word will make your post illegible.
- Check out Hashtagify search for popular hashtags on Twitter and Top-Hashtags for Instagram. Tagdef helps you to look up the meaning of trending hashtags or add your own.
Harness the power of emojis for your social media posts
There are currently 2,666 emojis in the Unicode Standard. In fact, emoji-based marketing messages have increased by 775% year over year. Emojis not only work for private conversation but can also be used for corporate communication to connect with your audiences. They provide a global storytelling language and can support brand building if applied correctly. Facebook posts can lead to 57% more likes, 33% more comments, and 33% more shares.
- Make sure your emojis make sense to complement your message. Don’t jump on the emojis bandwagon just to have them.
- There are so many emojis around and some of them can be easily misinterpreted. Only use emojis that will be understood by your followers.
Always make sure the meaning is clear. - Stick with your brand messaging. Don’t blow kisses to your audience for promoting a serious business service.
- Check out Emojipedia to look up the meaning of specific emojis if you are not sure what they are meant for. GetEmojis to simply cut and paste the emoji you are looking for.
Choose the right post format for your social media posts
Some networks, like Twitter, Facebook, and LinkedIn offer two general post formats: link post format and image post format.
Social media post formats: image post vs. link post
When you share a standard link post, the preview will display and share your featured image as defined in the meta tags of your post. When you share content that consists of multiple visuals, for instance, a blog post with statistics and infographics, or a tutorial with multiple screenshots, then also try image post format for your visuals – one at a time – to re-share your post. Use a different comment with each visual and refer to the content the image conveys. Schedule them at different times and days. This will bring even more variations to your posts and allows you to reshare your content multiple times without repeating your post. Sometimes, image posts work much better for engagement than link posts, so try out both formats and analyze your results. Selecting different post formats will bring your content in front of more eyeballs and extend the lifetime of your content.
Share your social media posts at the best times for each social network and community
Whenever you post on social media, only a fraction of your followers will actually see your post. Your reach also depends on the level of activity in your community at the time you publish your post. Make sure to hit the rush hours of each network and the best time to post for maximum visibility on social media. While Twitter is busy throughout the day, other networks such as Facebook, Instagram, and Pinterest are especially crowded during the afternoon and in the evening. LinkedIn is most frequented during the morning hours when most people are on their way to work and in the afternoon right before they leave the office. So, before you set up your social media posting schedule, take a look at the best times for each network.
Facebook ads
Choose your objective
Log into Facebook Ads Manager and select the Campaigns tab, then click Create to get started with a new Facebook ad campaign.
Facebook offers 11 marketing objectives based on what you want your ad to accomplish. Here’s how they align with business goals:
- Brand awareness: Introduce your brand to a new audience.
- Reach: Expose your ad to as many people in your audience as possible.
- Traffic: Drive traffic to a specific web page, app, or Facebook Messenger conversation.
- Engagement: Reach a wide audience to increase the number of post engagements or Page follows, increase attendance at your event, or encourage people to claim a special offer.
- App installs: Get people to install your app.
- Video views: Get more people to watch your videos.
- Lead generation: Get new prospects into your sales funnel.
- Messages: Encourage people to contact your business using Facebook Messenger.
- Conversions: Get people to take a specific action on your website (like subscribe to your list or buy your product), with your app, or in Facebook Messenger.
- Catalog sales: Connect your Facebook ads to your product catalog to show people ads for the products they are most likely to want to buy.
- Store traffic: Drive nearby customers to brick-and-mortar stores.
Choose a campaign objective based on your goals for this particular ad. Keep in mind that for conversion-oriented objectives like sales you can pay per action, but for exposure objectives like traffic and views you will pay for impressions.
For this example, we’ll choose the Engagement’s objective. From there, we need to specify which kind of engagement we want. We’ll choose Page likes for now.
Some of the options you see in the next steps will vary based on which objective you choose.
Click Continue.
Name your campaign
Name your Facebook ad campaign and declare whether your ad fits into any special categories like credit or politics.
If you want to set up an A/B split test, click Get Started in the A/B Test section to set this ad as your control. You can choose different versions to run against this ad after it’s published.
Scroll down a little further to choose whether to turn on budget optimization. This option can be useful if you’re using multiple ad sets, but for now, you can leave it turned off.
Click Next.
Set your budget and schedule
At the top of this screen, you will name your ad set and choose which Page to promote.
Next, you decide how much money you want to spend on your Facebook ad campaign. You can choose a daily or lifetime budget. Then, set the start and end dates if you want to schedule your ad in the future, or choose to make it live right away.
Keep in mind that running your Facebook paid ads on a schedule may be the most efficient way to spend your budget since you can choose only to serve your ad when your target audience is most likely to be on Facebook. You can only set a schedule if you create a lifetime budget for your ad.
Target your audience
Scroll down to start building the target audience for your ads.
You’ll see the first option is to add a custom audience of people who have already interacted with your business on or off Facebook. We’ve got a separate guide to walk you through Facebook custom audiences, so here we’ll focus on the targeting options.
Start by selecting your target location, age, gender, and language. Note that under location, you can specifically choose to include or exclude cities over a certain size.
As you make your selections, keep an eye on the audience size indicator on the right of the screen, which gives you a sense of your potential ad reach.
You’ll also see an estimated number of Page likes. These estimates will be more accurate if you have run campaigns before since Facebook will have more data to work with. Always keep in mind that these are estimates, not guarantees.
Now it’s time for the detailed targeting. Remember: Effective targeting is key to maximizing ROI, and there’s no shortage of ways to target your audience using Facebook Ads Manager.
You have two fields here in which to make your audience as specific as you choose:
- Detailed Targeting: Use this field to specifically include or exclude people based on demographics, interests, and behaviors. You can get really specific here. For instance, you could choose to target people who are interested in both meditation and yoga but exclude people who are interested in hot yoga.
- Connections: You can target or exclude people who have an existing connection to your Facebook Page, your app, or an event you managed. For example, if you want to reach a new audience, you would select “Exclude people who like your Page.” If you want to promote an offer or new product to existing fans, select “People who like your Page” to reach people who already know your brand. You can also choose to target friends of people who have previously interacted with your brand.
Choose your Facebook ad placements
Scroll down to choose where your ads will appear. If you’re new to Facebook advertising, the simplest choice is to use Automatic Placements.
When you select this option, Facebook will automatically place your ads across Facebook, Instagram, Messenger, and the Audience Network when they are likely to get the best results.
Once you have more experience, you may wish to place your Facebook ads in specific locations. Your options will vary based on your chosen campaign objective, but may include the following:
- Device type: Mobile, desktop, or both.
- Platform: Facebook, Instagram, Audience Network, and/or Messenger
- Placements: Feeds, Stories, in-stream (for videos), search, messages, in-article, and apps and sites (external to Facebook).
- Specific mobile devices and operating systems: iOS, Android, feature phones, or all devices.
Set brand safety and cost controls
Scroll down to the Brand Safety section to exclude any types of content that would be inappropriate to appear with your ad.
For example, you can choose to avoid sensitive content, and add specific block lists. Blocklists can exclude specific websites, videos, and publishers.
Finally, you can optimize your ad bidding strategy and bidding type, and add an optional bid control. If you’re new to Facebook advertising, you can start with the default options.
If you have more experience, tailor the options here to best match your budget strategy with your campaign goals.
When you’re happy with all your options, take a last look at the potential reach and conversion estimates. If you’re happy with what you see, click Next.
Create your ad
Choose your ad format, then enter the text and media components for your ad. The formats available will vary based on the campaign objective you selected back at the beginning of this process.
You can get quite creative here. If you’re working with an image, try clicking Turn into Video to create a short animation. Or, click Create Slideshow to build a Slideshow ad with the built-in Video Creation Kit.
Use the preview tool at the right of the page to make sure your ad looks good for all potential placements. When you’re happy with your choices, click the Publish button to launch your ad.
Facebook ad specs
There are a lot of details to keep in mind when getting your images and videos ready for Facebook ads. Since these details can often change, they are excluded from this post.
Text and objective specs for Facebook ads
To create the best Facebook ads, you need to keep the recommended character counts in mind. Anything beyond these text limits will be cut off.
You also need to understand which types of Facebook ads work with each of the ad campaign objectives described above.
Image ads
- Headline: 40 characters
- Link description: 30 characters
- Body text: 125 characters
- Campaign objectives: All except video views
Video ads
- Headline: 40 characters
- Link description: 30 characters
- Body text: 125 characters
- Campaign objectives: All except catalog sales
Facebook Stories ads
- Text: No set character count. Aim to leave 250 pixels text-free at the top and bottom of the ad.
- Campaign objectives: All except engagement and store visits
Carousel ads
- Headline: 40 characters
- Link description: 20 characters
- Body text: 125 characters
- Campaign objectives: All except engagement and video views
Slideshow ads
- Headline: 25 characters
- Link description: 30 characters
- Body text: 125 characters
- Campaign objectives: All
Collection ads
- Headline: 40 characters
- Link description: n/a
- Body text: 125 characters
- Campaign objectives: Traffic, conversions, catalog sales, store traffic
Instant Experience ads
- Text: Blocks of text up to 500 words each
- Button text: 30 characters
- Campaign objectives: All except lead generation
Messenger Inbox ads
- Headline: 40 characters
- Link description: n/a
- Body text: 125 characters
- Campaign objectives: Traffic, app installs, conversions, catalog sales, messages
Facebook ads cost
How much does it cost to advertise on Facebook? The answer is, it depends.
In-depth research by AdEspresso shows the main factors that affect Facebook ads cost are:
- Timing: The month, day, and even hour can affect ad cost.
- Bidding strategy: Whether you choose the lowest cost or a specific bid cap.
- Ad placement: Higher-competition spots cost more.
- Ad relevance: Low scores for your ad’s engagement ranking, quality ranking, or conversion ranking can raise costs.
- Target audience: Higher competition audiences cost more.
Keeping all of this in mind, the average cost per click for Facebook ads in Q3 2020. Broken down by campaign objective, the average costs were:
- Impressions: $0.98
- Reach: $1.03
- Lead generation: $0.67
- Conversions: $0.25
- Link clicks: $0.16
Cost per like was a bit of a roller coaster in 2020. As of September, the average was down to $0.15.
WITH THESE TOOLS, YOU CAN GUIDE YOURSELF THROUGH THE PROCESS OF MARKETING YOUR PRODUCTS OR BUSINESS WITHOUT FEAR.
BEST OF LUCK!!!