


How to Make A Leather Wallet


Step 1: Tools + Supplies

The list of the things needed to make this wallet:
- 3-4 oz weight vegetable tanned leather
- wallet pattern (patterns are attached to next step)
- diamond chisel set
- sewing awl
- Waxed thread
- stitching pony (optional but incredibly helpful!)
- stitching groover
- jojoba or other leather-friendly oil
- precision knife
- ruler
- rubber mallet
- spray bottle
- gum tragacanth
- edge slicker
- leather cement
- small piece of cardboard
- small clamps
- poly cutting board or a cutting mat
- fine-grit sandpaper
Optional paper towels and q-tips on hand.
You can also use that leather for, bags, straps, jewelry, etc.
Step 2: Choose and Cut Out Your Pattern
Choose the style you’d like and cut it out carefully using a ruler and a precision knife.
Slightly oil the grain side of the leather once it’s been cut.
Step 3: Burnish the Short Edges
You’ll want to burnish the two short edges because we’ll have a hard time getting to them later on once they’re glued down and sewn into place.
Apply a little oil to the edges. If they’re too dry, it’ll be very hard to get a nice burnish. Then, apply a bit of gum tragacanth to the edge, let it get tacky, and run a slicker over it. Keep repeating the process until the edges have slightly darkened and smoothed out.
Step 4: Make the Side Folds
Mark the side and middle fold lines on the flesh side of the leather.
Dampen the side folds with a little water and then fold them over and clamp them into place. Be very careful about positioning them in the right place – you really want to get this right the first time!
I like to use leather scraps in my clamps to protect the leather I’m using from getting marks in it.
Clamp until dry and then check out how they’re looking. If they’re not folded perfectly, moisten the leather again and pound with a mallet. That will help flatten out the fold.
Step 5: Make the Middle Fold
Moisten the middle fold line and fold the leather in half carefully, make sure all the edges line up.
I like to put this fold into the stitching pony and clamp the sides, too.
Step 6: Groove the Stitching Lines on the Inside Pockets
Mark the stitching lines on the pattern, use a groove to mark them on the side folds.
Go slow and steady and work with dry leather for best results.
Step 7: Glue Down the Pockets
Use a piece of tape or paper as a guide to apply the glue and keep it away from places it doesn’t need to go. (It can make punching holes and sewing harder!)
Apply your glue just along the edge of the inside pockets and clamp or hold until dry.
Step 8: Punch the Sewing Holes on the Inside Pockets
You can use diamond chisels to do this, they’re much more accurate than an awl for me!
Moisten the leather lightly, wait until it’s almost dry, and then line up the chisels to punch your holes.
Step 9: Use an Awl to Make Holes to the Outside of the Wallet
Place your wallet on a piece of cardboard, inside holes up.
Use a nice sharp awl and punch it down through the inside holes. Make sure you’re punching straight up and down – no angled punches or the stitching holes on the back of the wallet can come out crooked.
This will leave you with a line of tiny holes on the outside of the wallet – this is how we’ll line up our grooving and stitching holes on the other side.
Step 10: Groove and Punch the Outside of the Wallet
Using the tiny holes from the awl as a guide (they should lay right in the middle of your groove), groove the outside of the wallet to match the inside.
Wet the leather and let it go nearly dry again, and then line up the chisels with the holes and punch.
At this point, it’s a good idea to use the awl to punch through both layers again to make sure the holes are nice and clean. It’ll speed up sewing.
Step 11: Oil the Wallet
It’s important to oil the leather before sewing because the wax on the thread can cause issues with getting the oil to soak in.
Use an old piece of cloth and give the grain side of the leather a couple of coats of oil. Pay special attention to the stitching grooves – this will be your last chance to oil them properly.
Step 12: Stitch the Wallet Pockets Down
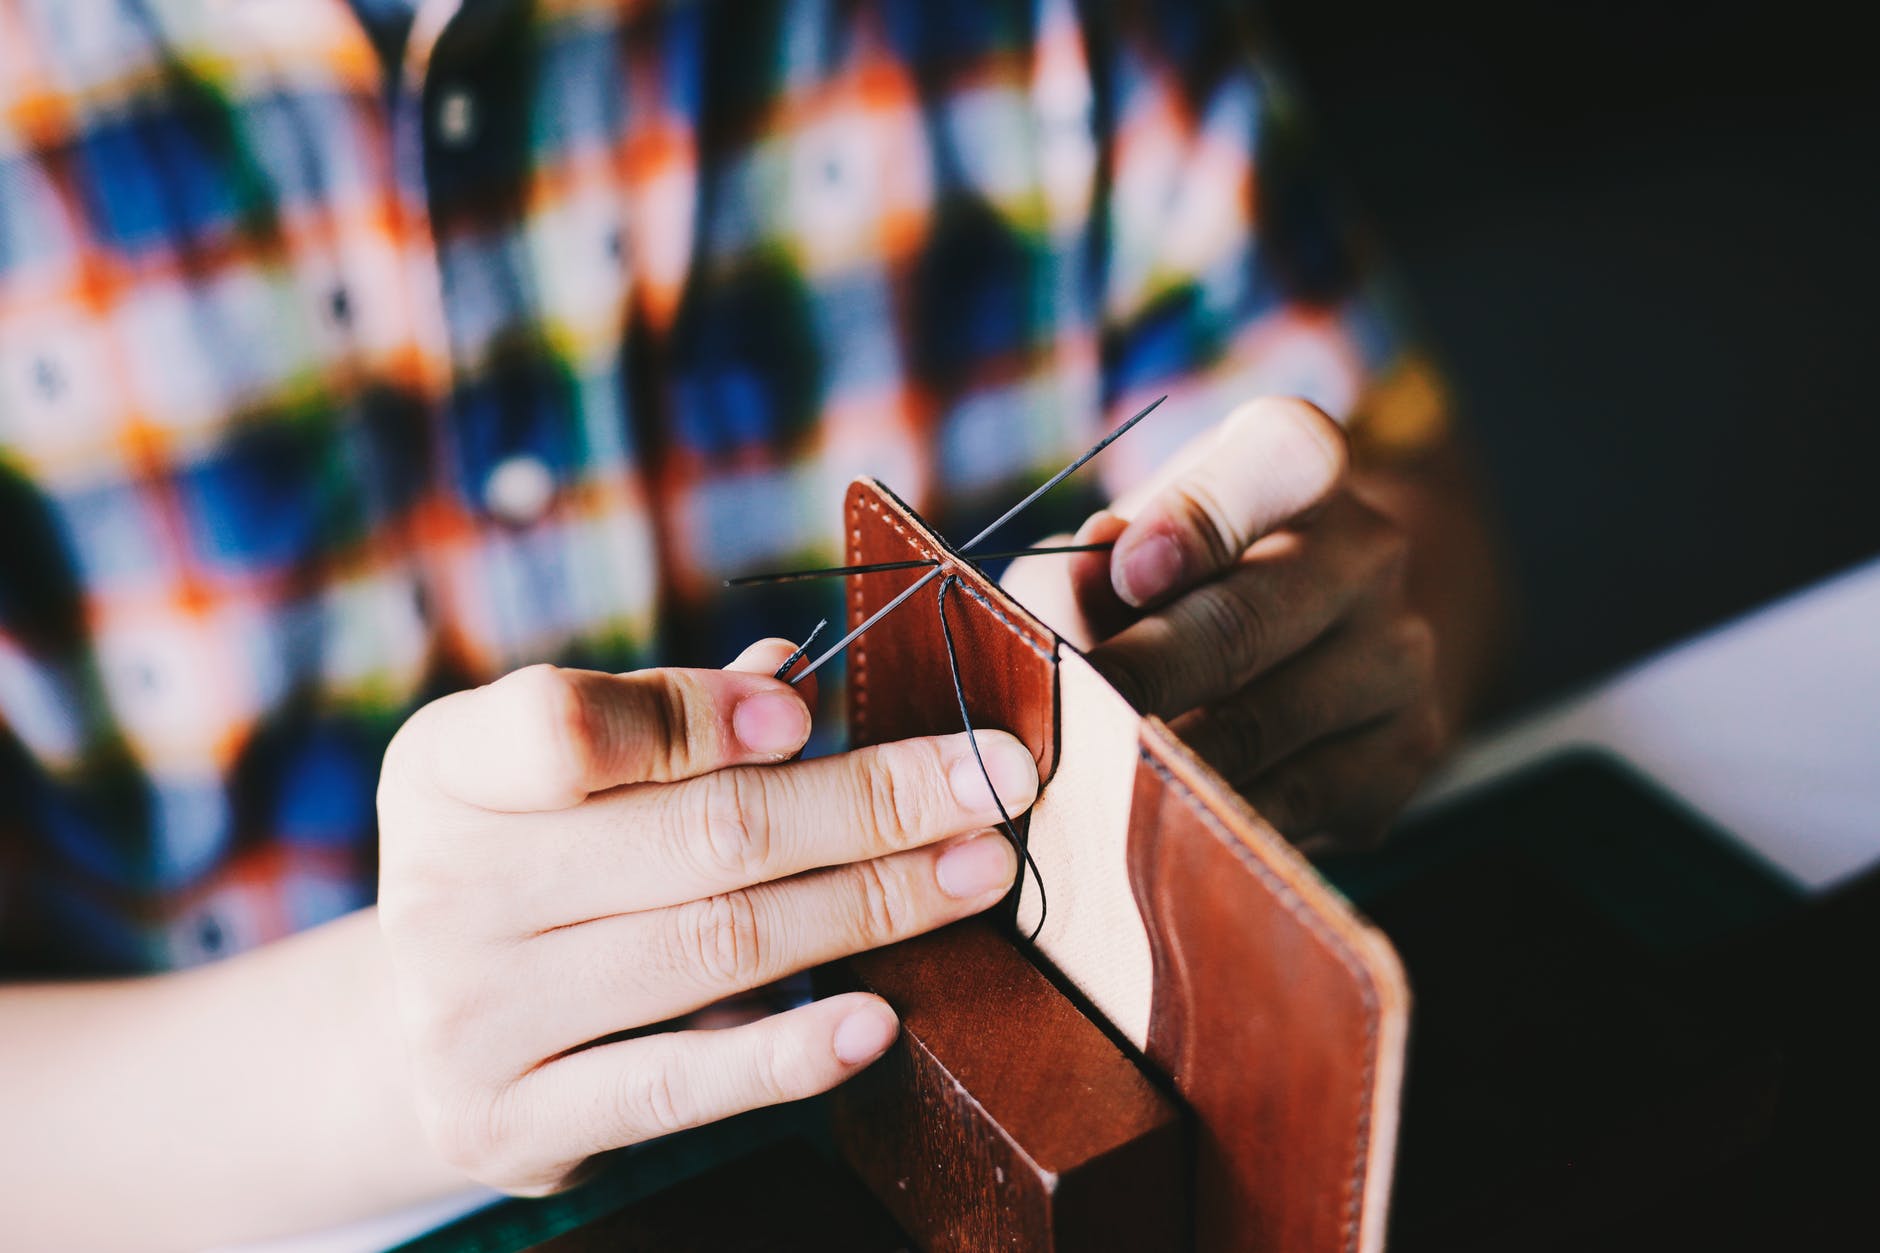
Thread some leather needles with about 16 inches of thread.
Step 13: Sand the Long Edges
Use fine-grit sandpaper to sand down the long sides of the wallet.
This will help ensure both layers of leather in the pockets are made of the line-up correctly. It’ll make burnishing these edges much easier!
Step 14: Burnish the Long Edges
Use gum tragacanth to burnish these edges, just like the ones before. Remember to add jojoba oil to the edges if they’re really dry.
Once you’re done, your edges (including where the pockets overlap) should be nice and slick.
Step 15: Oil Again and Enjoy!
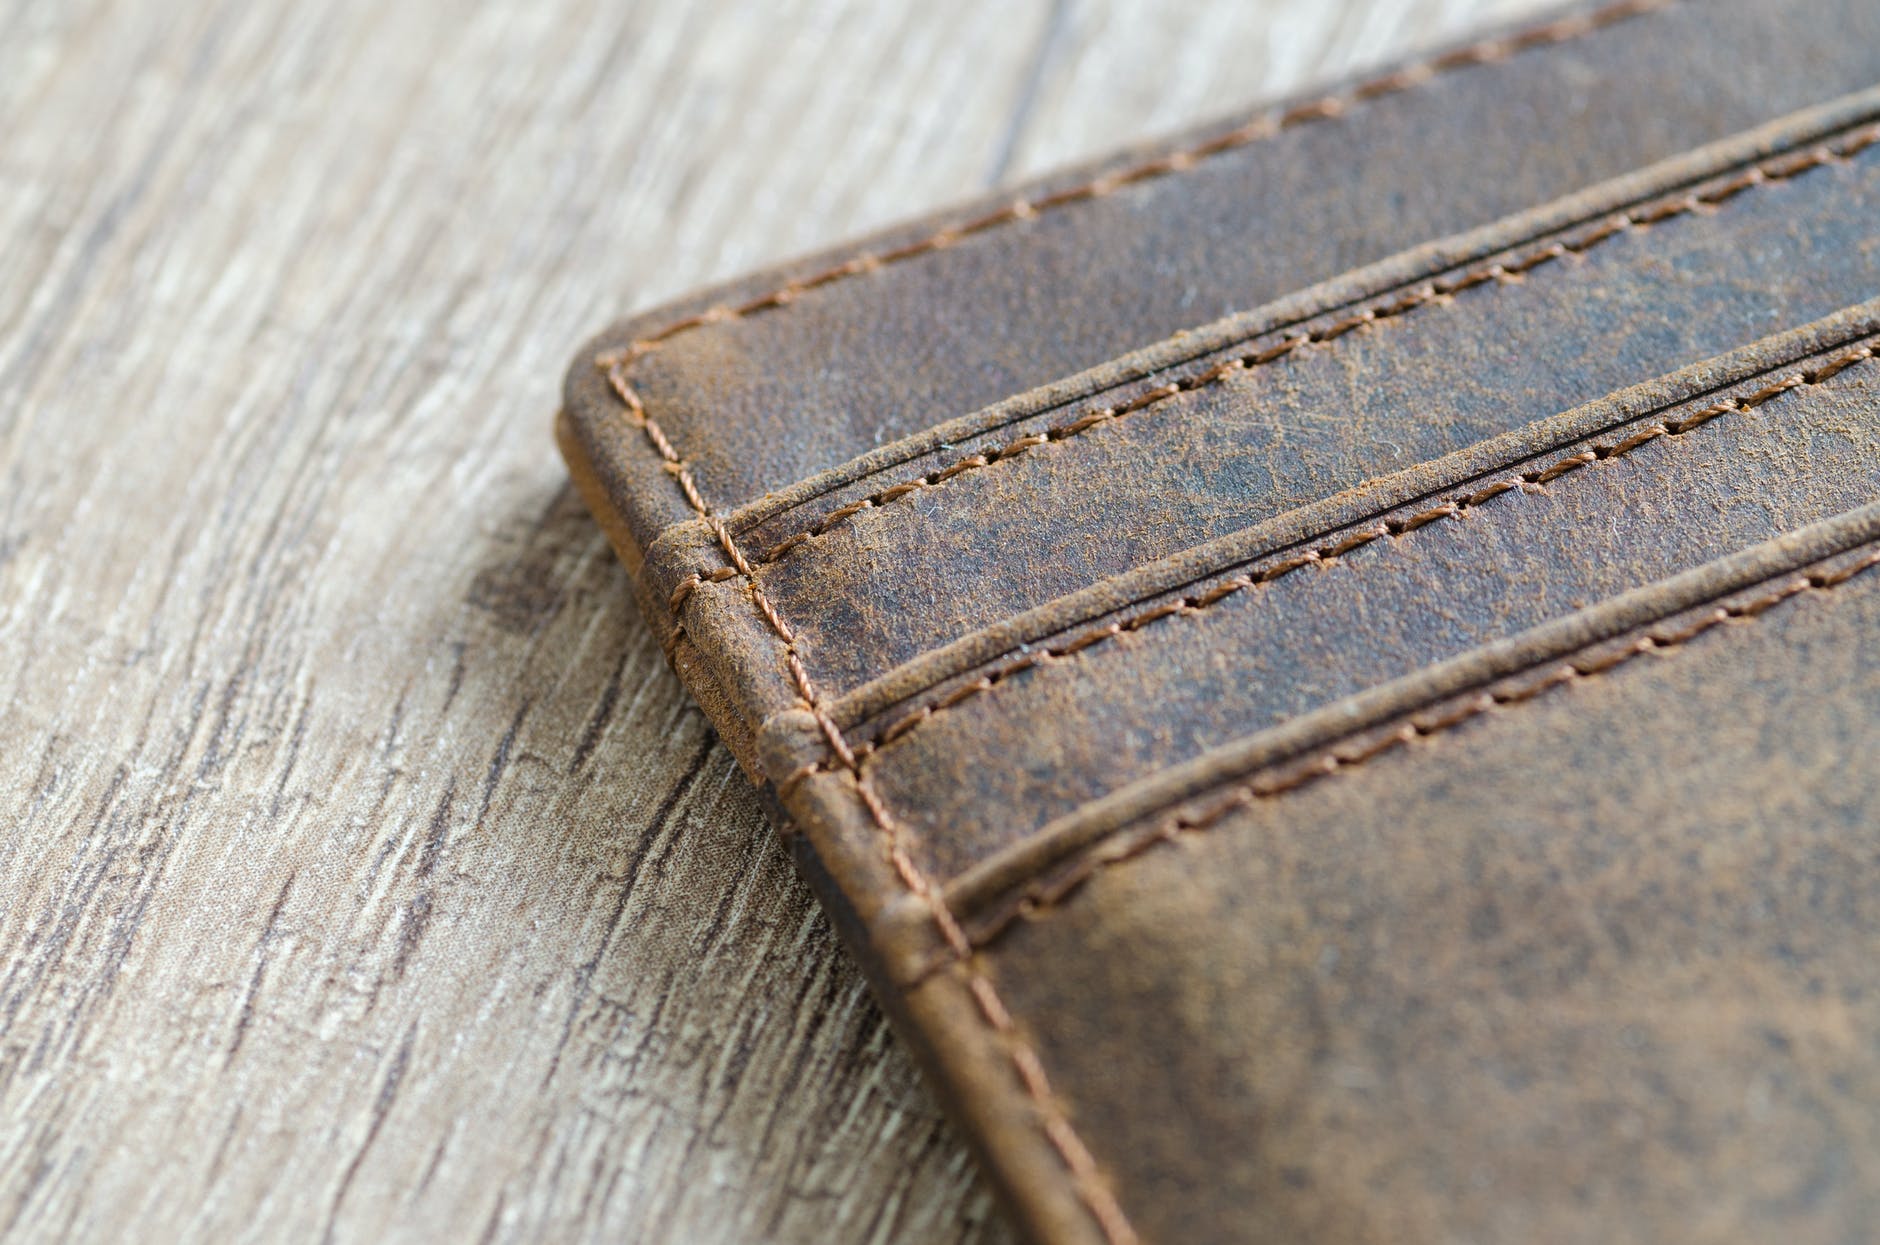
After sewing and burnishing, lightly oil the wallet one last time. You are done.