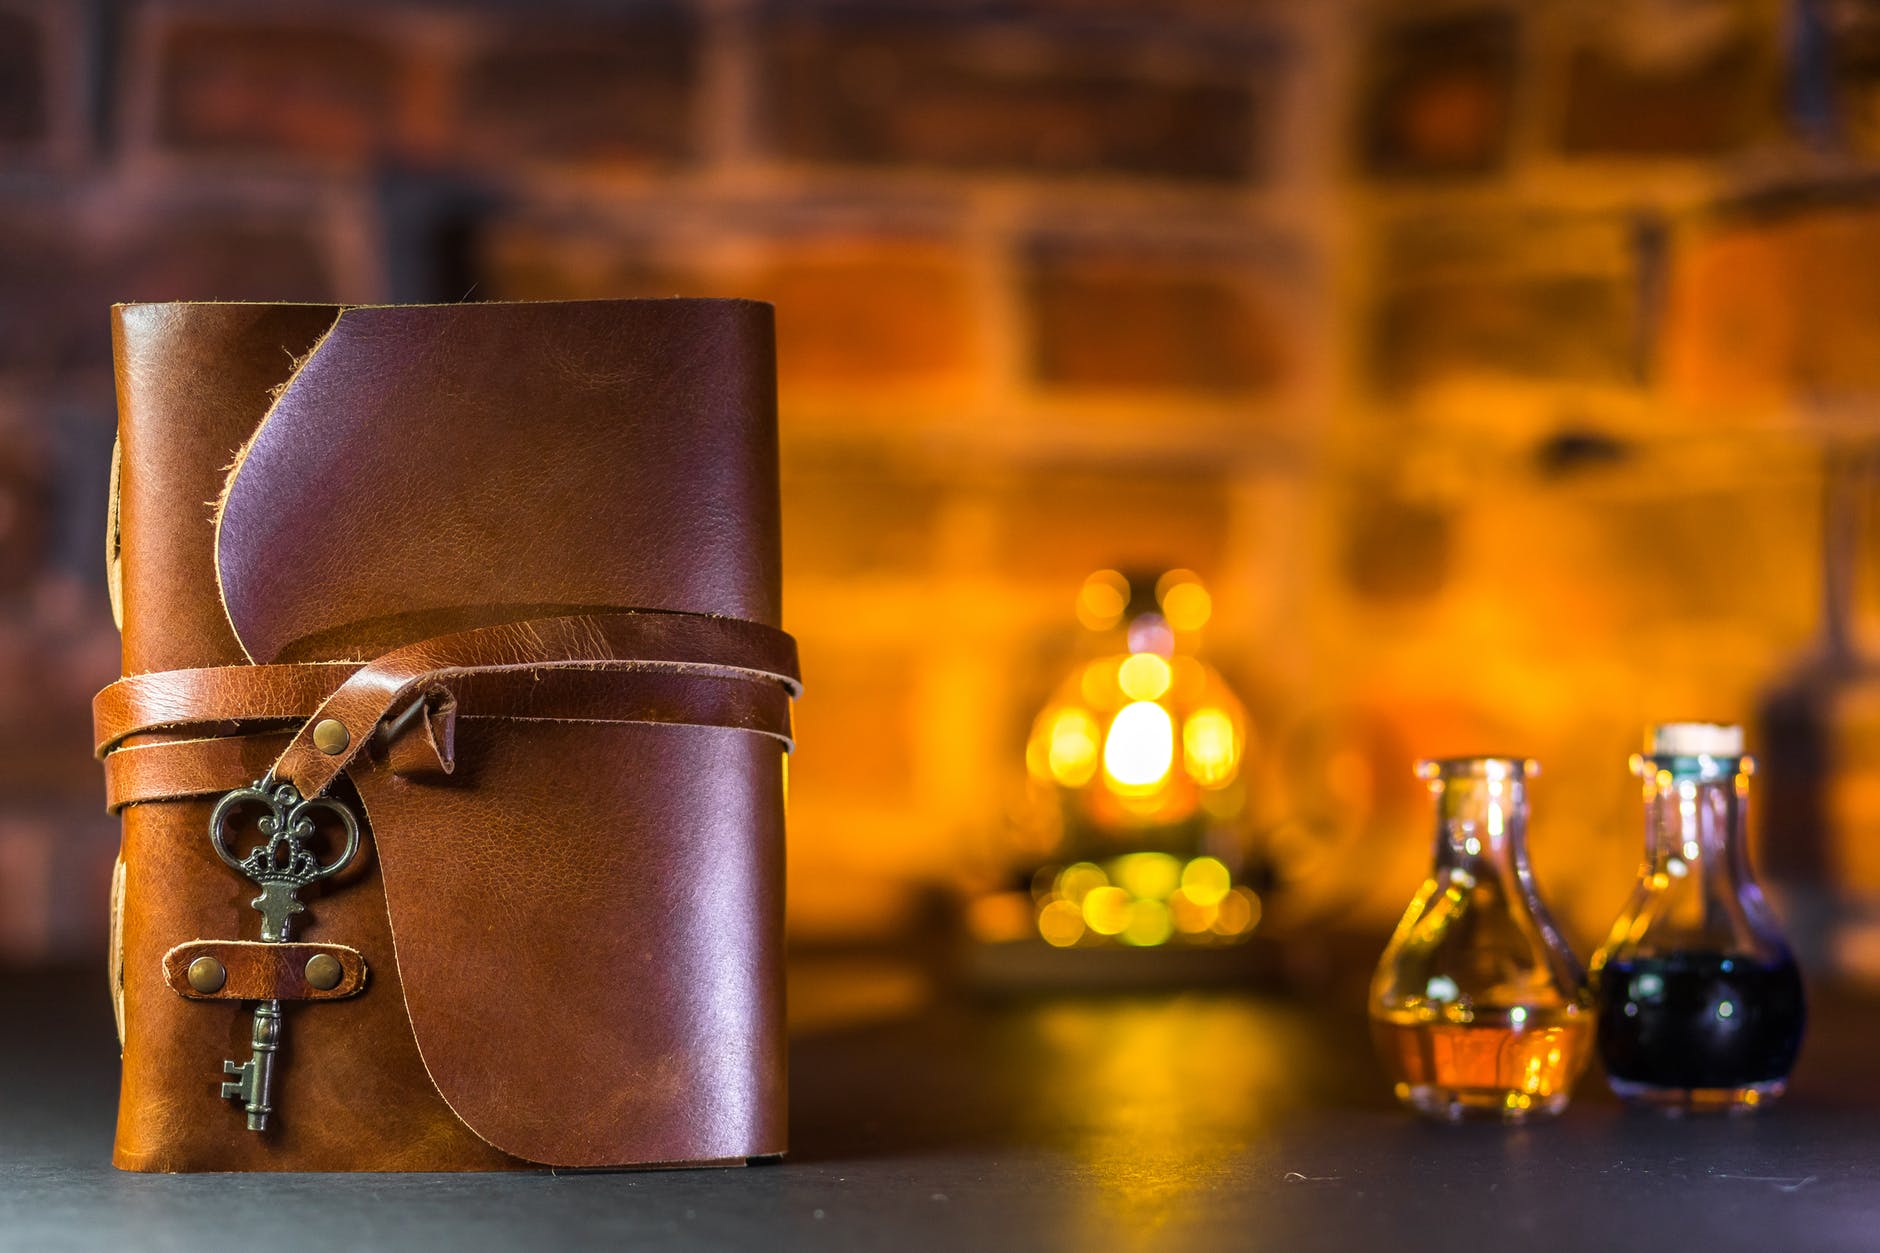
DIY LEATHER DIARY

Step 1: Materials

MATERIAL
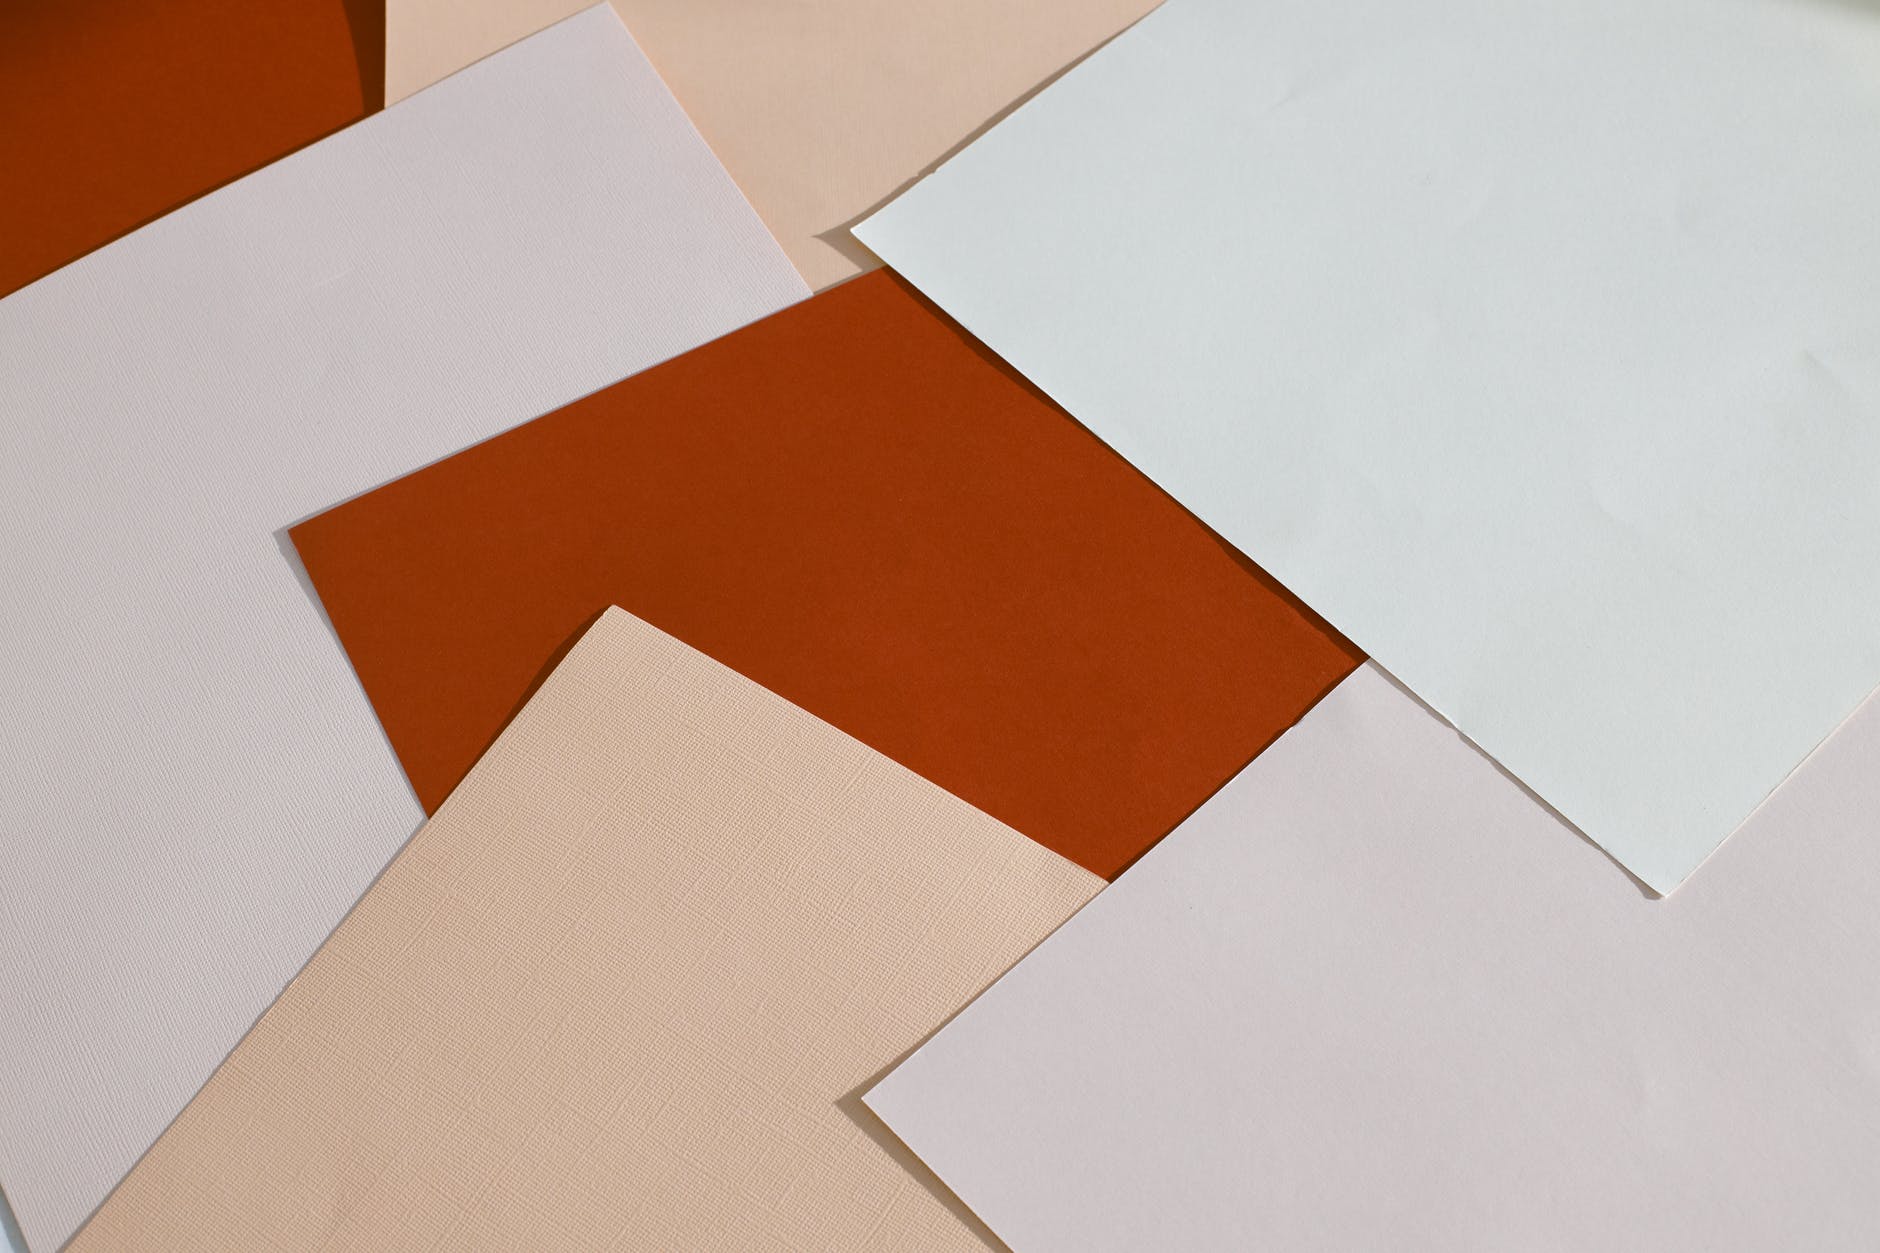
-leftover paper
-cardboard
-a scarp piece of leather
-a leather cord
-waxed thread
TOOLS
-ruler
-pencil
-scissors
-awl or big sharp needle
-needle.
Step 2: PAPERWORK

There is a lot of paper you can save from being wasted, and use as it is.
Broken paper bags, old envelopes, unfinished exercise books, used packaging paper, broken paper folders, etc…
I generally like recycled paper, but it still takes a lot of energy, water, and chemicals, to collect it, smash it and bleach it, to reshape it into paper.
Step 3: Diary Template Creation

To make the work easier and faster, make a template of the pages out of a piece of cardboard.
Step 4: CUT THE PAPER
Mark the paper with the pencil and the template, then cut it.
It is recommended to mark all paper first before you cut it.
Step 5: FOLD THE PAGES

Fold the pages, then insert one into another. Make a few small booklets.
Step 6: MAKE HOLES IN THE Diary’s PAGES
Mark one of the booklets where you want the holes for the wax threads to be.
Align all the booklets together and mark them all in the same way.
Fold each booklet inside out and poke holes where you marked it.
Step 7: MAKE THE Diary’s FOLDER
The folder is not necessary, but it helps to keep all the journal sturdy.
Cut a rectangle, to hold all the booklets, from thin cardboard, or thick paper.
Mark it in the middle with the booklets.
Mark all the others holes, like the ones of the booklets.
Poke holes.
Fold it as a cover.
Step 8: CUT THE LEATHER

Cut the leather into a long rectangle, with one side flat and the other rounded, long enough to be wrapped all the way around the booklets, and slightly wider.
Step 9: POKE HOLES IN THE LEATHER
Place the folder you made on the leather, almost but not quite aligned, on the flat edge of the leather (see photo).
Poke holes in the leather with the awl, corresponding to the holes in the folder.
Step 10: SEW YOUR DIARY

Make a knot at the end of the waxed thread.
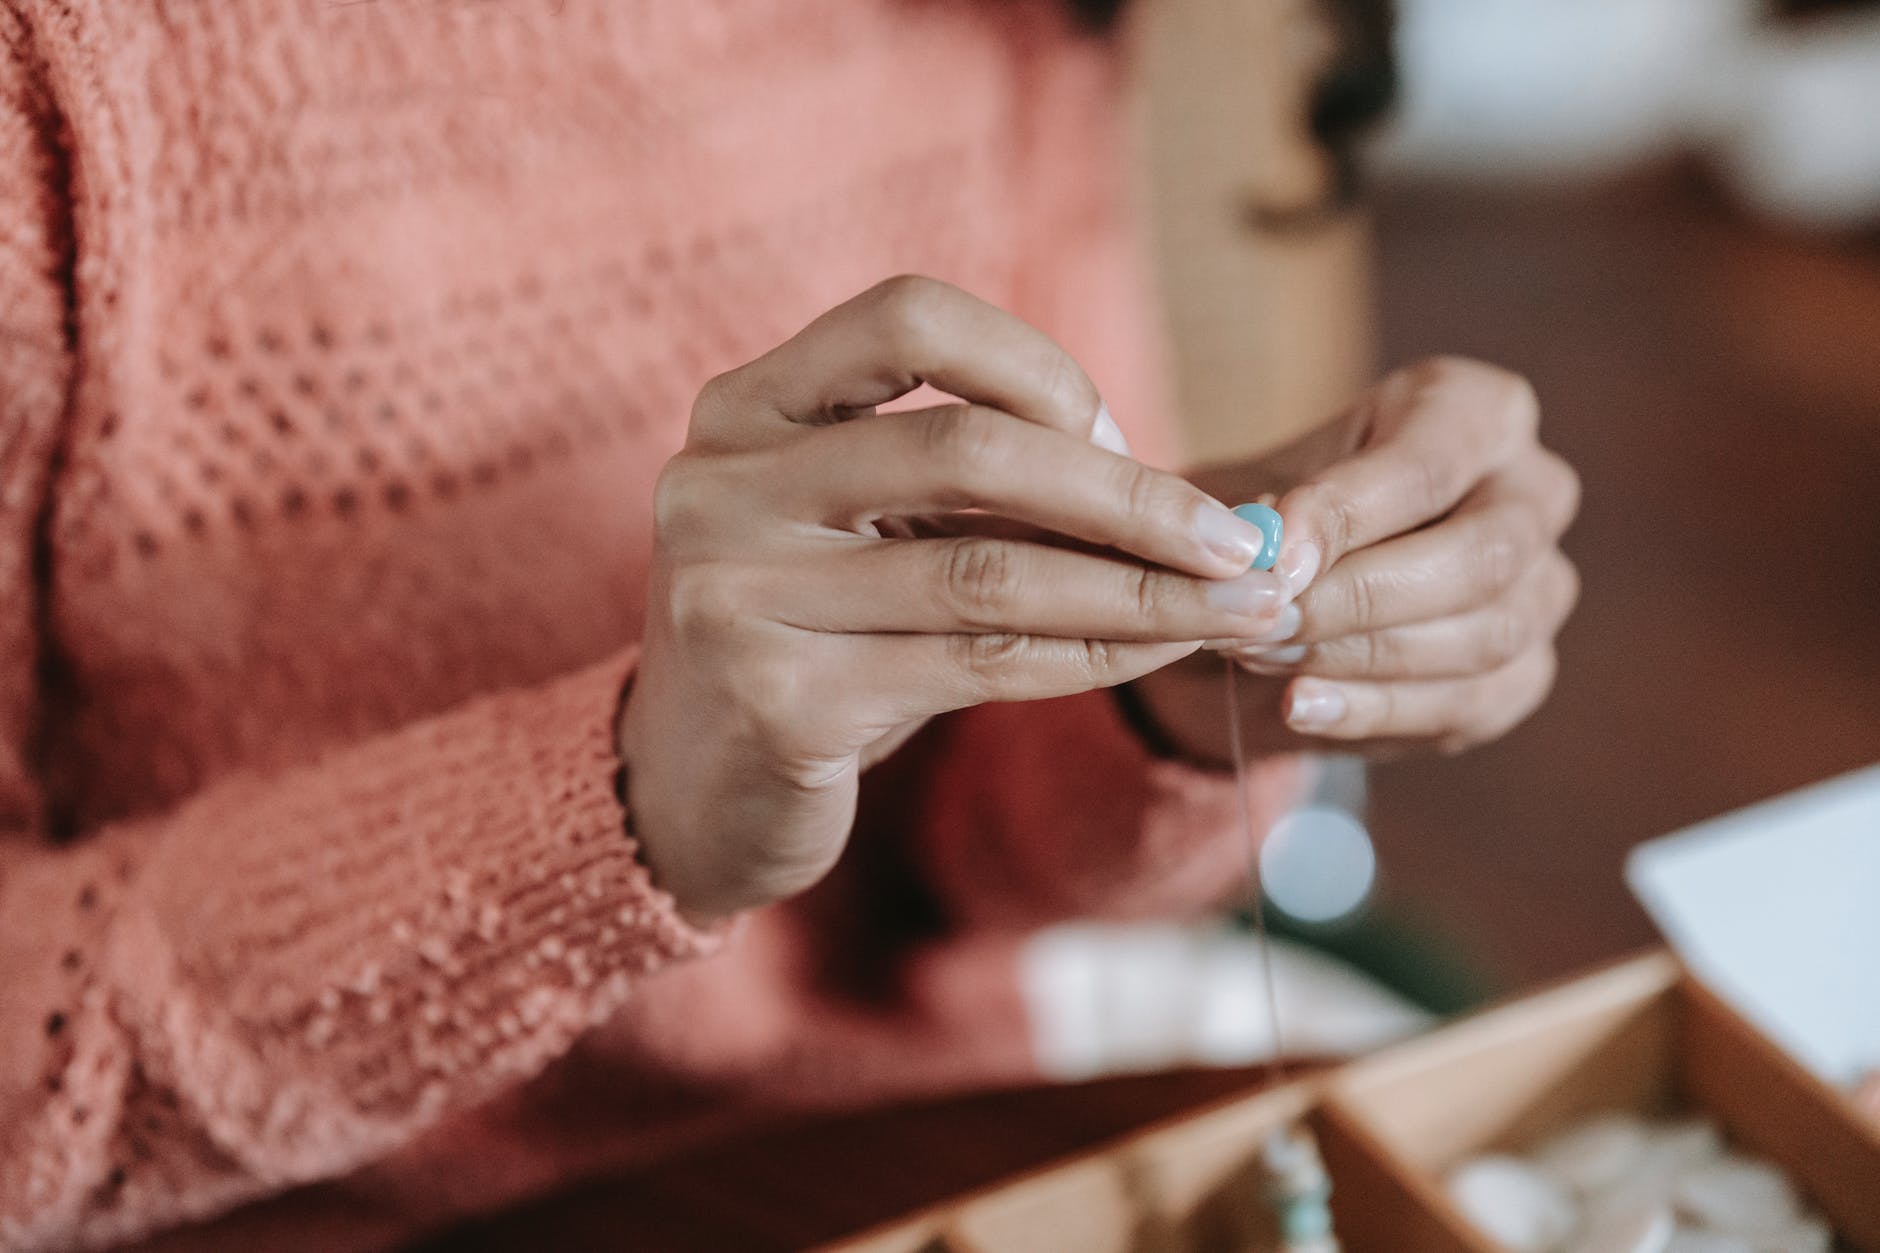
Start sewing, first in the leather, then the cardboard folder, then the first booklet.
Go in and out of the holes. Then move into the second row of holes, and sew the second booklet.
Do the same thing with all the booklets, till the last one.
Tie a knot on the outside of the journal.
Step 11: ATTACH THE Diary’s STRING
Make some holes in the middle of the round edge of the leather folder, and into one edge of the leather string, and sew them together with the waxed thread.
Step 12: READY!!!